The Lowdown on the Offsets Daddy-o…
… an informed guide to Jazzmaster & Jaguar hardware upgrades.
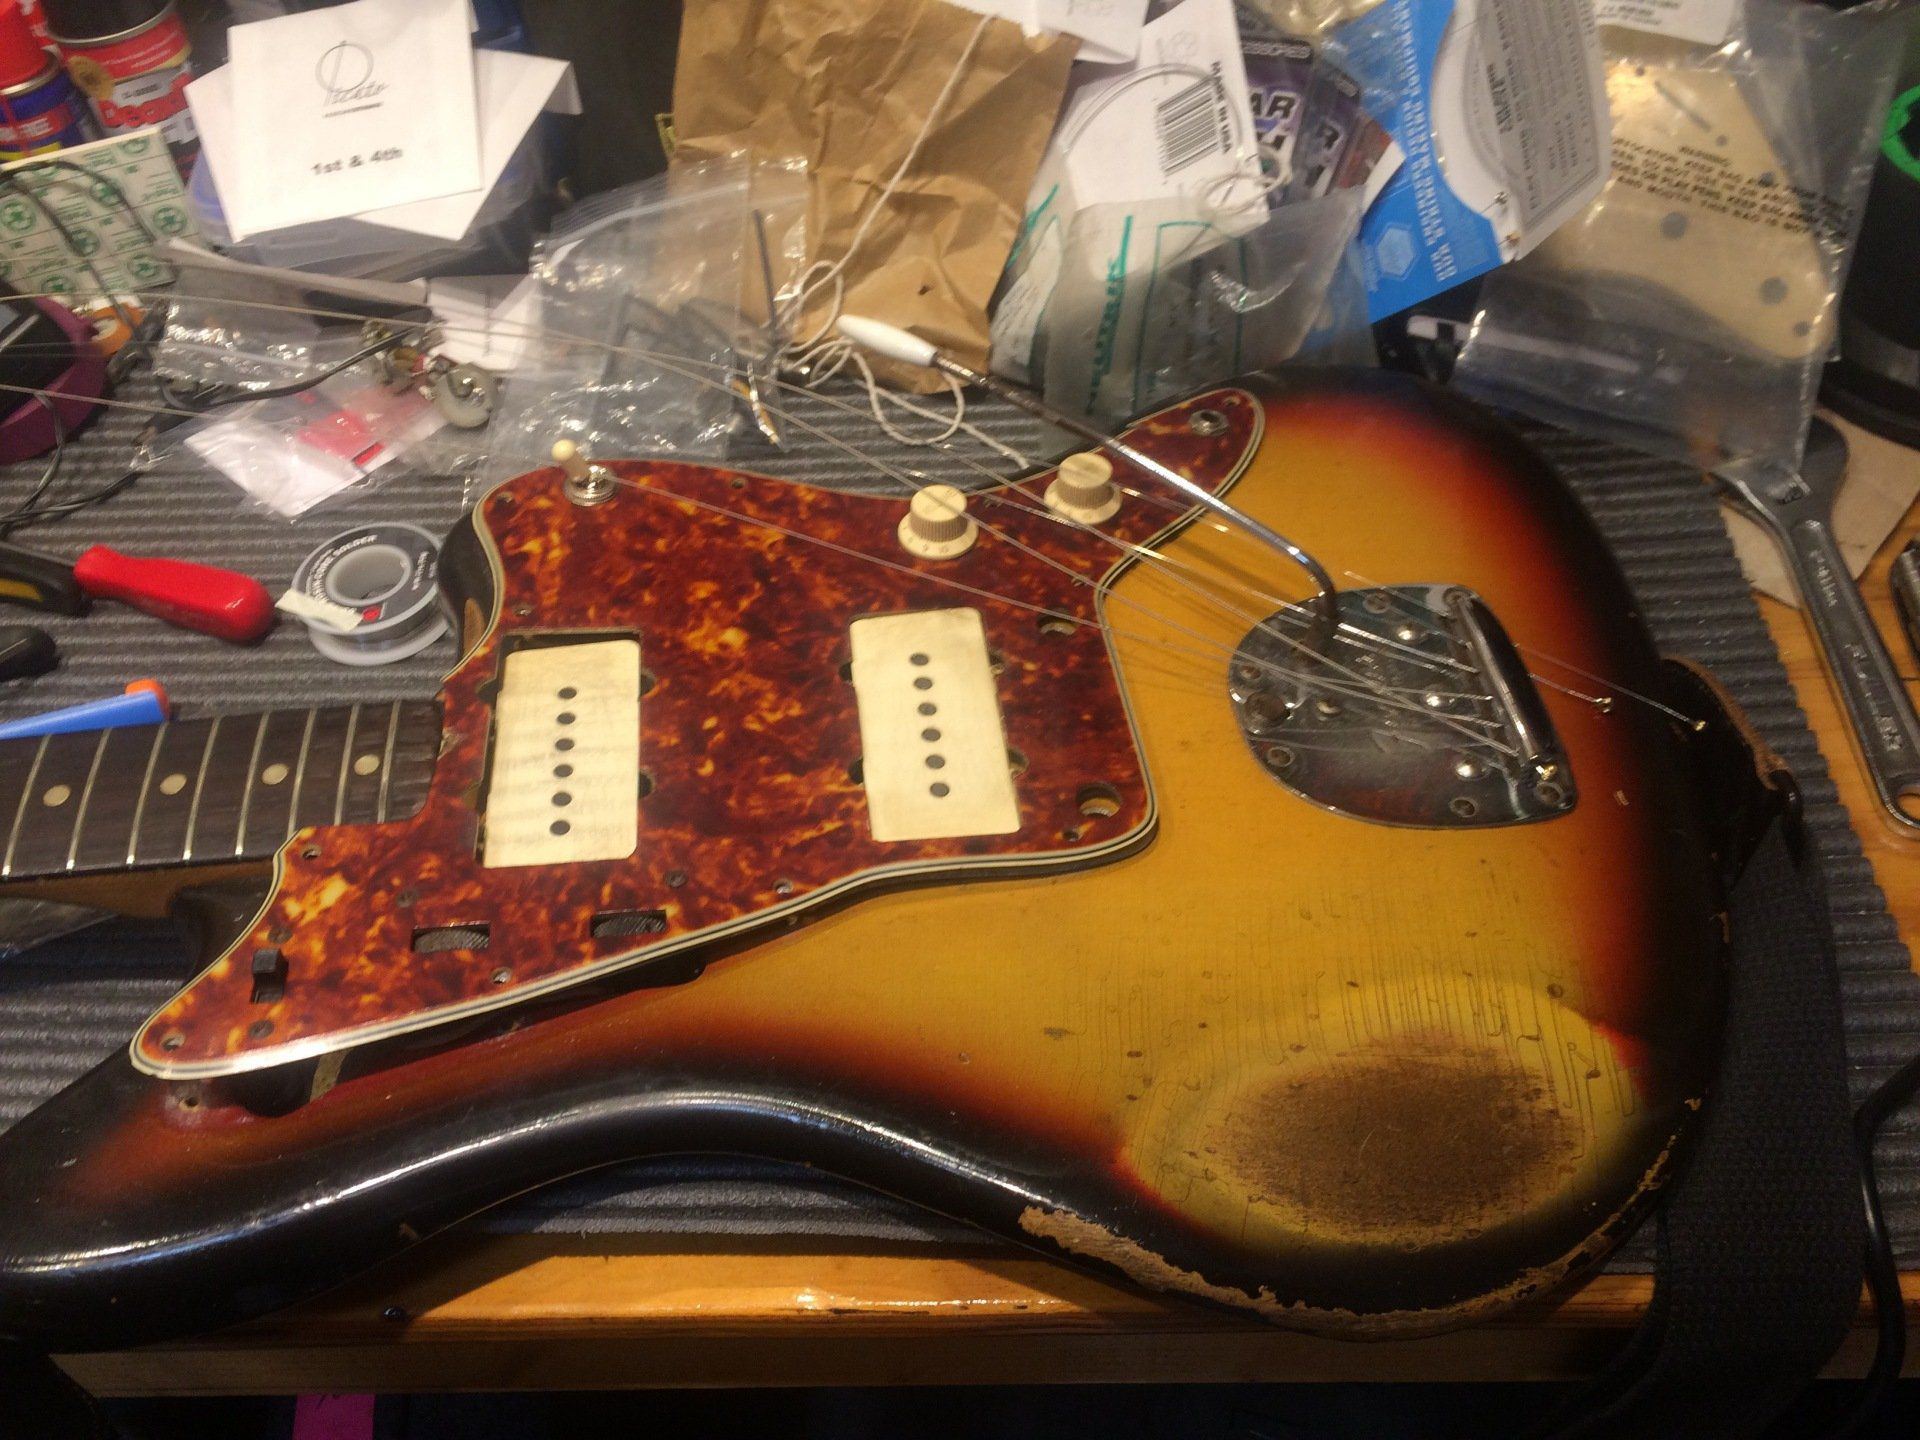
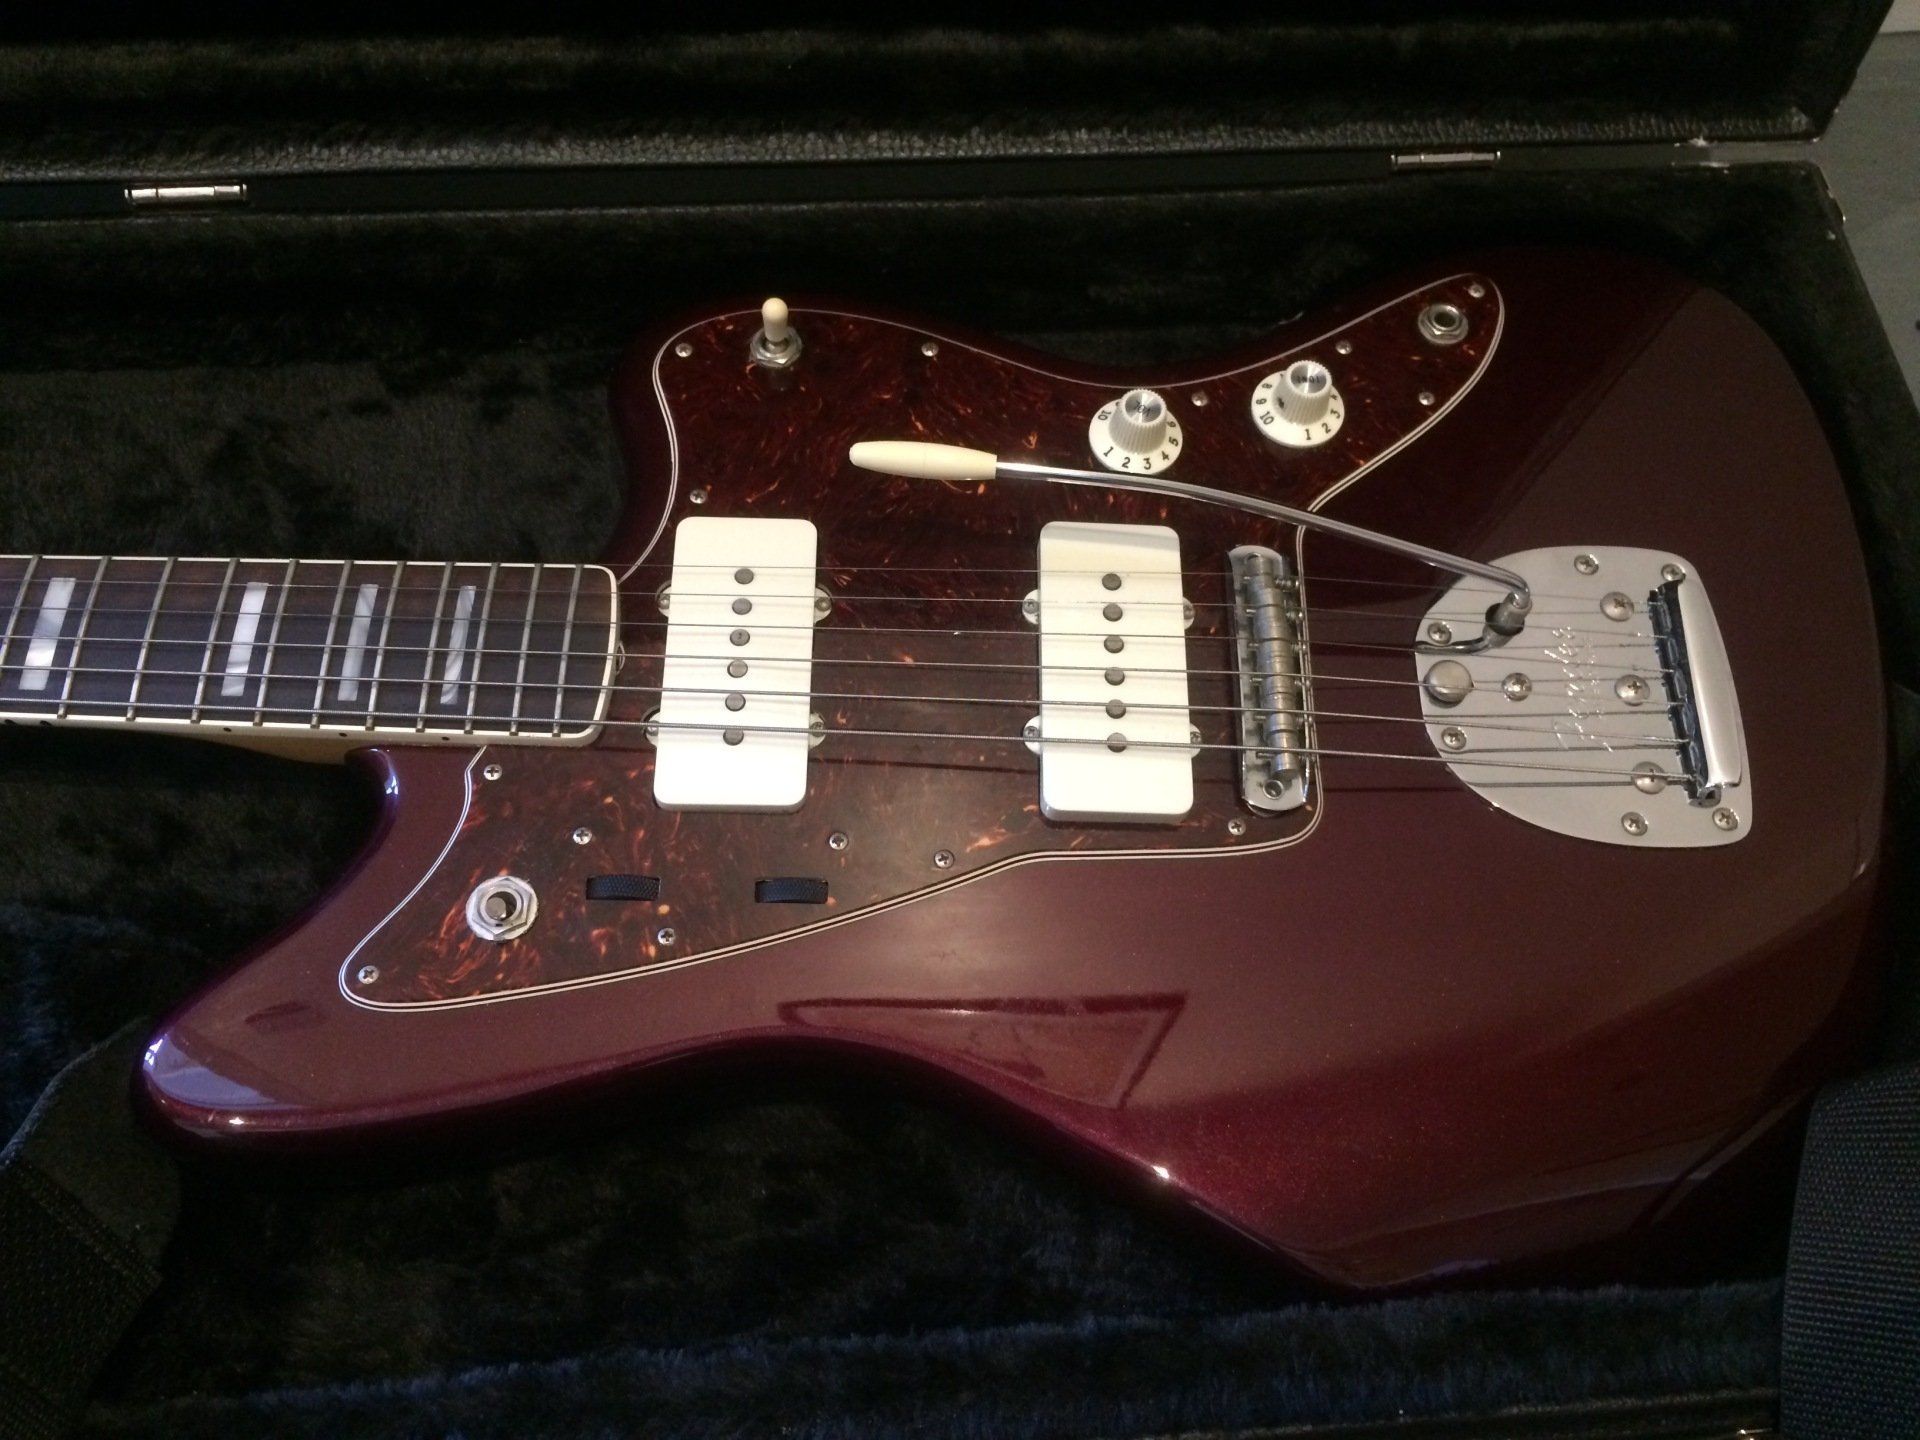
On the work bench in front of me I’ve got a Fender Jazzmaster, Made In Japan, and as I glance down I realise there’s another JM right under my nose. I’m wearing one of my Old Town Music t-shirts with the Jazzmaster print on the front. It’s a great place to visit, if you are ever in Portland, OR, (although I do miss their old shop when it really was in the Old Town: it was more like the funky old caves of vintage gear I haunted in my youth). Looking a little closer at the print on the shirt I decide that it looks like it’s sporting a Mustang bridge rather than its original. Indeed the bridge on this MIJ in front of me is Mustang style, though a little different — more of which later. What better subject for an article, I think, than the many ways in which we’ve had to learn how to make these babies playable and tuning-stable.
I’ve looked after a lot of Fender offsets on tour during the last few years — many of them fine vintage models — so I think I’m well placed to write an article on the various hardware upgrades available. And boy, is there a need for those options. And you know what? There’s a need for this article as well. I’ve heard some really badly informed opinions on Fender Offsets over the years and read some truly terrible advice on various forums. I watched one guy on YouTube from a repair shop who thought the only way to raise the bridge was to stack the posts with washers, I shit you not, and that was only posted in 2014. Maybe that's why you often find a traditional Offset bridge with the saddles adjusted way too high until the intonation screws are interfering with the strings.
“Offset what?” I hear you ask. Well, it’s the name given to any Fender guitar where the narrow waist between the body bouts is offset from (rather than perpendicular to) the centre line. Strats, Teles & Duo-sonics all have symmetrical waistlines. Jazz Basses, Starcasters & Mustangs are offset in the midriff. But most often the term is used when referring to Jazzmasters and Jaguars. They are beautiful and distinctive both in looks and sound, and have been the guitars of choice for some true icons
—
from the Surf Music era in which they were born to the Alternative and Grunge artists of the '80s & '90s. So let’s get stuck into the real issues with the playability and stability of these lovely, quirky guitars. And then I’ll try and compile a list of the main aftermarket replacements and how they address the various problems at the end of this article.
Lets Go Trippin’
From October of 2015 up to November 2017 I was working for PJ Harvey, and for the 17 months, on & off, that we toured The Hope Six Demolition Project around the world we had 6 Fender Offsets on stage. There were two original 1965 sunburst Jazzmasters (played by John Parish & Alessandro Stefana, both with Tort guards), two Troy Van Leeuwen signature JMs (Alain Johannes), an American Vintage JM (Alessandro again) and a CIJ Jaguar (James Johnston). Actually it was 7 Offsets if you include Mick Harvey’s Jaguar bass. The spare JM for Asso was usually an AV on loan from the kind folks at Fender, depending where in the world we were. Some of these seven guitars had after-market hardware replacements and modifications or were models that were not to vintage spec. Incidentally Polly herself has a gorgeous original Jaguar in Olympic White with matching headstock that I had the pleasure to work with on some earlier shows.
I worked with Suede from 2010-16 and looking after Richard Oakes meant getting to work on a 1966 Jaguar and a 1959 Jazzmaster. The Jazz is fantastic, made during the first 12 months of manufacture with a deep 3-tone sunburst, anodised pick-guard, snarly P90-esque pickups and a slab rosewood fingerboard that is so dark the “clay” dots are practically orange. It’s also pretty solid, never usually any issues, despite still sporting it’s original bridge. I did once, however, have to soak said bridge in naphtha, and then oil, for a few days in order to completely dismantle & reassemble it. Most of the adjustment screws had rusted solid, and the Phillips screw heads & Allen holes were plugged with dead skin smegma — the whole thing was completely seized up making a decent set-up nigh on impossible. But a little TLC was all the old girl needed and it’s a great guitar to this day.
The Jag though has always been a little problematic. It’s a great looker despite some blobbing in the finish that might be touch ups to the paintwork — which was a difficult shade for me to identify, at first I thought it was Teal Green. It looks a little like a really yellowed Lake Placid Blue — which is what it has always been known as in the Suede camp. I always questioned this and when I had to take the the pick-guard off one time (a nicely stained mint green that is a perfect complement) I found that it’s exactly the same shade underneath with no tide line at all. Definitely not an original LPB then. I had to reset the neck after one cargo flight and the date stamp on the heal for ’66 was completely right; also the transition style decal looks totally original over the top of a matching liveried headstock - so I now believe it is actually, mostly original, Ocean Turquoise Metallic. I did a show with Ride in Spain a while ago and Mark Gardener has a lovely ’64 Jag almost exactly the same colour. So I had a quick look around the web which showed up quite a few Ocean Turquoise Jaguars from the mid sixties, as well as a CIJ 1966 reissue model in OTM and an American Vintage Ocean Turq. Those reissues could of course be the influence of John Frusciante’s opening performance in the Under The Bridge video where he appears to be playing a metalic blue-green Jaguar, which was actually more likely his Sherwood Green ’66. So yes, she’s a looker, the Suede Jaguar, but very high maintenance — particularly around the bridge. Both the JM and the Jag had Buzz Stop roller bars (again, I’ll come back to aftermarket hardware later) added in recent years by long term Suede roadie Peter Sissons. I did persuade him eventually though, that the Jaguar should get a Mustang bridge replacement.
Taking it to the Bridge.
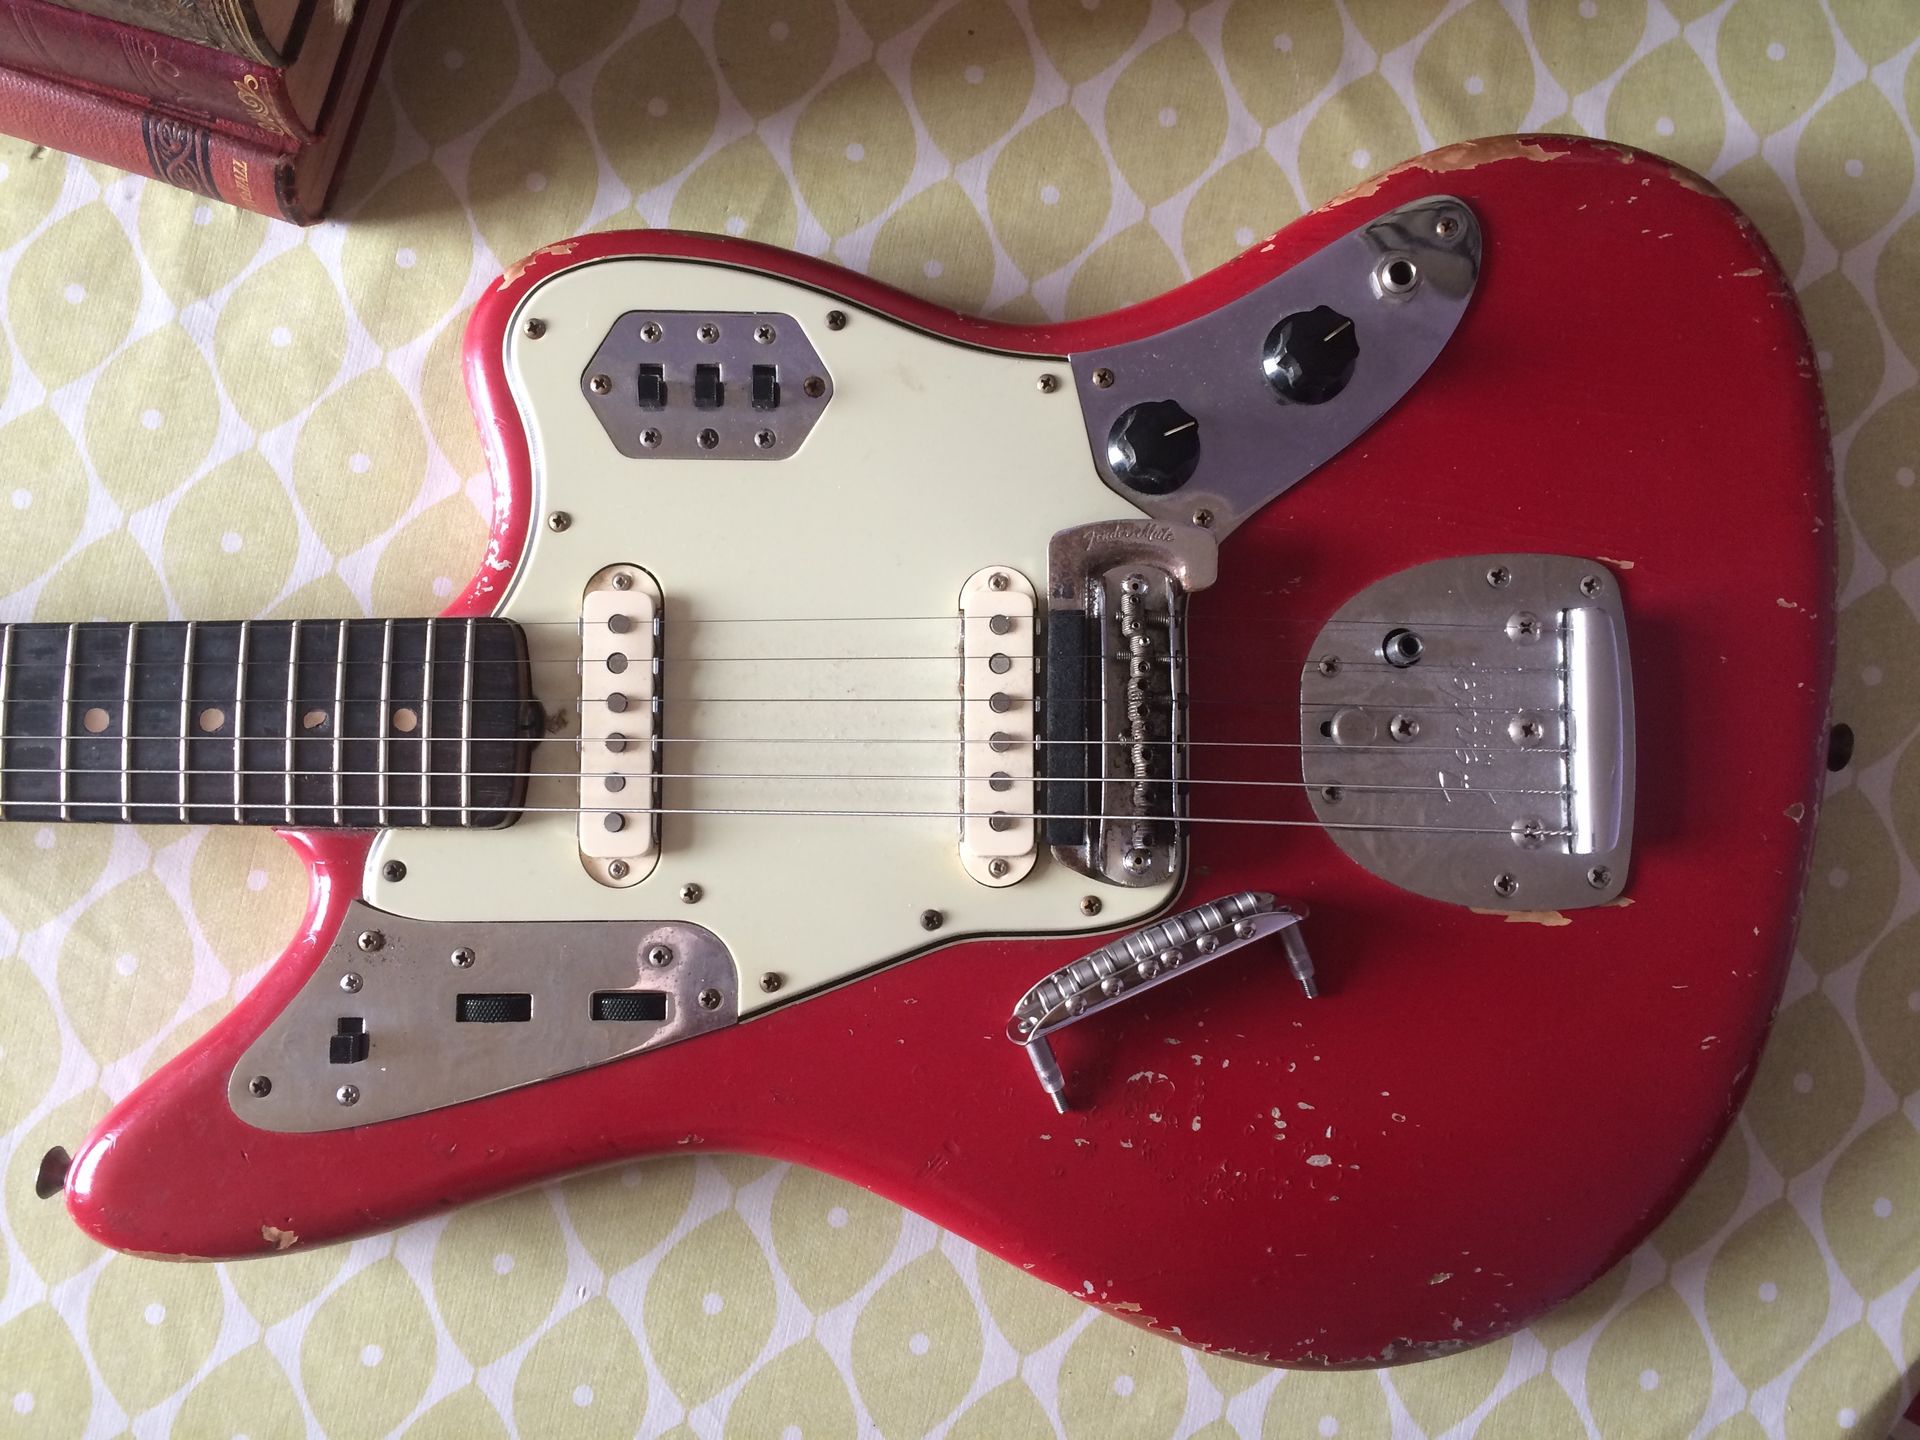
The main problem with Jazzmasters and Jaguars for most people has always been the bridge. Like some Telecaster and Fender bass bridges from the late '50s onwards the saddles are made from threaded steel rods. Some of these original bridges have a finer thread on the top two strings — this was an era of wound G strings after all. (Imagine well the Jazzmaster circuit improved the brightness of heavy gauge flatwounds? Yeah and these days people get me to install lower value pots for less treble.) On many, all six saddles have the same narrow thread, unlike the wider grooves of the saddles on my 1969 Harmony H82G Rebel. It is as poor a choice for audio coupling as it is for string seating. The helical grooves are never aligned to the strings, which will therefore always be perched uneasily on a knife edge or two at an acute angle. Even if a string were to seat into one of these threads it would be perverted from it's true course. With such a saddle it is impossible to achieve those ideal conditions where the bottom half of the string is solidly bedded in a good resonant transmission material. There is often no firm seating whatsoever and Jag & Jazz players sometimes find that strings can skate from side to side, and even right off the fretboard. The most obvious fix is to get out the nut files and cut some proper gauged string slots in the saddles. A fine solution if you’re looking at a modern or repro instrument, but a value-degrading act on an original vintage guitar. The saddle height-adjustment grub screws are often loose and also prone to movement — which of course adversely affects action and intonation and can cause buzzing as well.
Buzzes can also occur between the bridge posts and the body thimbles in which they sit. The gentle vibrato action envisaged by Fender prompted them to come up with a design where the bridge posts could pivot toward or away from the neck as the whammy was engaged, the theory being that the bridge would always return to the correct intonation position. Assumption is of course the mother of all cock-ups and if you give a Jazzmaster trem arm a good bit of elbow the tuning will go out, sometimes quite dramatically. The bridge actually pivots on the pointy tips of the two bridge height adjustment screws, which are usually, but not always, quite snug in their threads. What I always advocate doing — and this includes Mustang bridges — is wrapping the bridge posts with PVC electrical tape or sometimes aluminium foil tape until they just slide snuggly into the body thimbles. Then with some decent string lube in the saddle slots (and of course the nut) the whammy will work a lot more smoothly. Incidentally I’ve been using Finish Line Teflon-based dry chain lube for mountain bikes for about twenty years now and wouldn’t use anything else. Wrapping the posts has become such a common mod that you can now buy silicon or nylon cups which do the same job and some after market bridges even ship with them.
One major issue with the original model bridge occurs when the intonation screws are angled up too steeply and start interfering with the strings because the saddles have been adjusted too high on the bridge plate. I have even seen vintage instruments where these have been cut short to counter the problem! This can be solved by lowering the saddles, which of course may require the bridge-height screws in the bridge posts to be raised in compensation. If you're aware of them of course! The heads of the intonation screws are an issue as well. Being centred on the saddles the heads can often interfere with the the strings if these are on the trem side. Both the Staytrem & Mastery bridges offset the screw axis to avoid this problem. Setting the action and intonation on an original Offset bridge is a balancing act. The saddles must be high enough off the bridge plate for the strings to clear the curved rims at the front and back of the bridge. These curved rims are at slightly different heights on some bridges, so it is possible to spin the bridge 180º when necessary to avoid the kind of buzzing and choking that occurs when the strings come in contact with these edges — either on the playing side or off the back. Don’t forget, if you spin a bridge 180º, to reposition the saddles, and if they’ve been slotted for string guages, swap them around. This bridge flipping will not always work and one reason is that some later models have the trem block positioned closer to the bridge with a consequent steeper string break-angle. The cut-away edges of the excellent Mastery bridge are a direct fix for these issues.
The long string area between bridge and trem on original spec Jags & JMs is a feature which many Offset players love. As well as imparting distinct overtones and resonances it can be played to great effect. But of course it does make for a very shallow break-angle to the strings. This is yet another factor in the skating-string problem which has been addressed in all kinds of ways by players and techs over the years, but one popular add-on piece of hardware is the Buzz Stop roller. It’s easy to install, creates a steeper break angle and as the name implies has a roller cylinder similar to that on many Bigsby trems to facilitate whammy mayhem. However it does impair playing behind the bridge, a feature of Fender Offsets that many experimental guitarists have employed of the years. Of course cutting good saddle slots or employing the well grooved Mustang saddles will solve this issue without the need for what is basically an elaborate string tree. I also feel that the Buzzstop interferes with smooth trem operation compared with a well set up Offset with a qualiry after-market bridge.
Mustang's Alley
I will always reccommend someone goes down the Mustang road first. Several Fender Offset models now have Mustang bridges as standard, a trend which began with certain signature models — an indication of how popular a mod it has always been with professional players. I have in my possession a Troy Van Leeuwen signature Jazzmaster that Alain Johannes gifted me when we hit the end of the road in Mexico City. It was his main guitar on the Hope 6 tour until I finished the Telecaster I made for him. Touring with Paul Weller over the last four years I also got to play the signature Jaguars Johnny Marr gave to Paul and to Steve Cradock. These are all very playable guitars, due in large part to the Mustang bridges they ship with. Similar to the Marr Jag, certainly in it’s switching options, is the Fender American Professional Jaguar. Fender lent us one for the PJ Harvey tour but we didn’t use it. Not a patch on the excellent American Vintage JM which they kindly lent us for several of the Hope 6 legs. I will always put a quality Mustang bridge on a Fender Jazz, Jag or Bigsbyed Tele. It is the cheapest option and instantly fixes many issues — depending on the individual guitar. Of course the saddle heights are fixed on a Mustang bridge, and on the originals and repros the string radius is set to vintage Fender standard: seven and a quarter inches. I mentioned early on in this article the bridge on Babsy’s Jazzmaster is “Mustang style”, the one in front of me on the work bench. This one is a very good aftermarket version by Staytrem, and is made with saddles in either vintage 7.25” or modern 9.5” radius and these numbers are engraved on the underside. The saddle intonation screws used to have nylon bushings to counter vibration loosening, the two bridge height pivot screws still do, but the saddles now use tiny circlips. The bridge posts also used to have the option to come with nylon sleeves to snug into the body thimbles so you don’t have to wrap the posts in order to restrict rocking as I’ve previously recommended. They fit 5/16th - 8mm thimbles, but I think the post sleeves are discontinued.
And there are other versions of the Mustang bridge out there. I haven’t had my hands on one but the Blacktop JM has what looks like a hybrid of properly grooved Mustang type barrel saddles, but with twin grub screw height adjustment. Unfortunately some guitarists have complained that the saddles are actually too wide and it causes the strings to become too close to the sides of the fret board on one side and splay out from the whammy string spacing on the other. I have seen Graphtec Mustang saddles for sale but they seem only to be spaced for MIJ/CIJ bridges. Vintage & AVRI models have wider intonation screw spacing meaning there will be gaps between such saddles. Warmoth do a modified Mustang bridge with height screws in the outer four saddles, which allows it to be set to either a vintage 7.25” or modern 9.5” fingerboard radius, and of course to compensate for for any irregularities in neck or frets. I haven’t tried it out, but I will say this, I have never had to worry about the lack of individual saddle adjustment setting up a standard Mustang bridge with a vintage camber fingerboard.
Other bridge designs have been employed on late model Offsets in the past, for example Fender have used their Adjust-o-matic T-O-M style on a few. I had a Squire J Mascis JM in the workshop for a couple of minor repairs a few years ago and it played very nicely after I'd got it’s T-O-M set-up properly, considering it was only a Crafted In China model. James Johnston’s CIJ Jaguar lost a roller saddle from it’s Schaller bridge at the end of 2016 whilst he was thrashing away at it with furious glee (it may have been at the Hong Kong show) — and I know of other players who’ve had the same mishap with those type of bridges. Try as I might, I couldn’t find it anywhere on the stage at the end of the gig. I usually end up dragging magnets around the stage (and off the front of the stage) in those situations. So I fashioned a new saddle made from a sawn-off bolt shaft, filed at both ends to fit the cups in the bridge, and a tiny hex nut that fit its thread (both long term residents of one of my 'box-o-bits' from previous stage fishing trips). I cut a string groove into the edge of the nut with a top-nut cutting file and it did the job perfectly well for a while. Sometimes your only resources are what you have in your toolbox. I searched all the many great music stores in downtown Singapore for a replacement with no luck. After I managed to locate a whole new bridge, Mick Harvey very kindly dropped into Music Swop Shop in Melbourne, VIC to buy us a new one at the start of the Hope Six tour’s Australian leg (the original Bad Seed and Birthday Partisan has a lovely little studio in Melbourne, incidentally, such a great atmosphere).
Some of Fender’s latest Custom Shop offset models have their new RSD-J bridge, I have yet to try one in the field but it looks to have addressed some of the old issues with some tastefully retro styling. The bridge plate is shaped like an F-hole with two brass saddles which look like they can be adjusted with Allen keys for intonation and also, presumably, height. Whether that means they can only be adjusted to one radius I don’t know, but intonation might be a compromise for each set of three strings and of course it will only work for string sets with a plain 3rd. The shape of it reminds me of the “Dogbone” asymmetric bridge plate found on some 1950s guitars like the Multivox Premiers that had Bigsby compensated aluminium bridges.
Jazzmastery
Alessandro Stefana has an amazing 1965 Jazzmaster, it is in very nice condition and has a beautifully flamed maple neck. It is a gorgeous vintage instrument but as a busy musician playing with everyone from PJ Harvey to Ennio Morricone, Asso has had his Jazz fitted not only with a Mastery Bridge but also a Mastery tremolo block and even a Mastery string tree which echoes the shape of the saddle blocks. So, the highly acclaimed and highly priced Mastery unit. The first time I saw one of these babies I was sceptical. Three strings per saddle? Even worse than an original P-Bass or Tele, I thought. And how expensive! But this piece of hardware really works. It’s not difficult to get the intonation correct across all strings — at least it’s hardly more fiddly than most saddle systems. But of course you'd have trouble with a wound third string — that's perhaps the one circumstance where a Mustang bridge will be superior. The most important thing, though is that the Mastery addresses all the problems inherent in original Fender Offset bridges — and more to the point answers them. The strings sit in deep, wide grooves; it is impossible for them to skate sideways across the neck or jump out of position. The rim at the rear of the bridge plate is cut away around the integral intonation screw brackets — of which there are only 4. There are only 4 saddle height screws instead of 12 and these are snug fitting and easy to adjust. The bridge posts fit snugly in the body thimbles. And none of them buzz or rattle! The only negative comments I have read about the Mastery is that the string spacing is slightly narrow, by about 1/16” — perhaps they machined the saddles to the string spacing of a Mustang without accounting for the angling they would require. Mark Gardener’s Jaguar, incidentally, has also had the Mastery bridge added. It is definitely the way to go if you’re a touring pro, or need to tweak your string heights away from standard 7.25” or 9.5” radii. That said, I would always try a quality Mustang bridge with snugged posts before anything else, particularly if the cost of a Mastery was an issue for the client.
And so to the hand vibrato mechanism, which due to Fender’s interchangeable use of the terms on both guitars and amps is commonly, but mistakenly, called tremolo. As I said earlier the Fender Offset vibrato tailpiece was not designed for the '80s Heavy Metal Stuka dives that would come a couple of decades later. Heavy handed use of it and poor understanding of how it should be adjusted has led to a bad press for this swan-like device. And it is elegant, with it’s long curving neck the only thing moving above the surface while the bulk of the mechanism churns away underneath. Elegant and efficient: it’s single spring and "knife-edge" pivot can work superbly when adjusted correctly. The Mastery version on Asso’s beautiful ’65 sunburst was as solid as a rock and always returned to pitch, strung as it was with a set of Beefy Slinkys at .054”-.012”. Fender put a user guide into the cases of these guitars back in the day and it clearly & simply describes how to adjust the trem for optimum performance. This involves just two adjustable parts, above the surface at least.
Good Vibrations...
A quick examination of the tremolo cover plate shows a button which slides between two positions — and just behind it a Phillips screw that appears to do nothing. What it actually does is tighten or loosen the spring when turned clock- or anti-clockwise respectively. The purpose of the button is to engage a locking device that blocks the string plate from tilting back to sharpen the pitch of the strings (though it is still possible to push the arm down and flatten the pitch with this button engaged). The real boon of this system becomes apparent the first time you break a string on an Offset guitar. As long as the trem has been properly set up it works like this: If the lock has been engaged (with the button slid back away from the bridge) when you break a string then nothing will happen! The string anchor plate is blocked from tilting back despite the spring now exerting more force than the suddenly reduced string tension and the guitar will stay in tune. If the button is in the forward position when your string breaks, simply deploy the trem arm down, flick the button back towards the ball ends and let go the arm. The spring can only pull the string plate up against the locking button which has been set with the mechanism floating at correct tuning. However some Fender and Squier JMs & Jags like the Blacktop and Classic Player models do not have this original feature. Indeed neither does the Mastery offset trem block. Many people ignore the lock button anyway and set the spring tension to suit their playing style.
The optimum setting for the spring screw can easily be established as follows. First tune the guitar to pitch, then try moving the button back away from the bridge. If you feel nothing happen then the spring is too loose and the string plate beneath the cover plate is pitched forward too steeply like a Strat trem with loose springs. The spring screw needs to be tightened, i.e. turn the screw clockwise. Were you to break a string in such circumstances then the string plate can jump up to meet the engaged lock button and throw the tuning sharp. With the button forward towards the bridge it will probably drop the pitch even further. If you can’t engage the button at all then the string plate is already tilted too far back, indeed the trem arm will probably look like it’s angled up way too high and of course you’ll need to turn the spring screw anti-clockwise to loosen it. When the spring screw has been set right you should be able to feel the button slide onto the top of the string plate as it is pushed back into the on position. Every time you tweak this spring tension Phillips screw you will need to tweak the tuning as well until the balance is right. If the spring tension is only slightly loose it may cause the string plate to buzz against the lock button. If slightly too tight the button may click the plate down slightly flattening the tuning a little bit. Of course all this depends on the action, relief & intonation being correctly set-up to begin with. And be warned: some vintage Offsets have very strong springs and modern light gauges of strings with plain 3rds won’t be able to exert enough force to get the balance right. Conversely some modern Offsets, particularly form the Far East may have weak springs inadequate to counter a set of heavy strings. In both scenarios it might be impossible to set the lock button correctly.
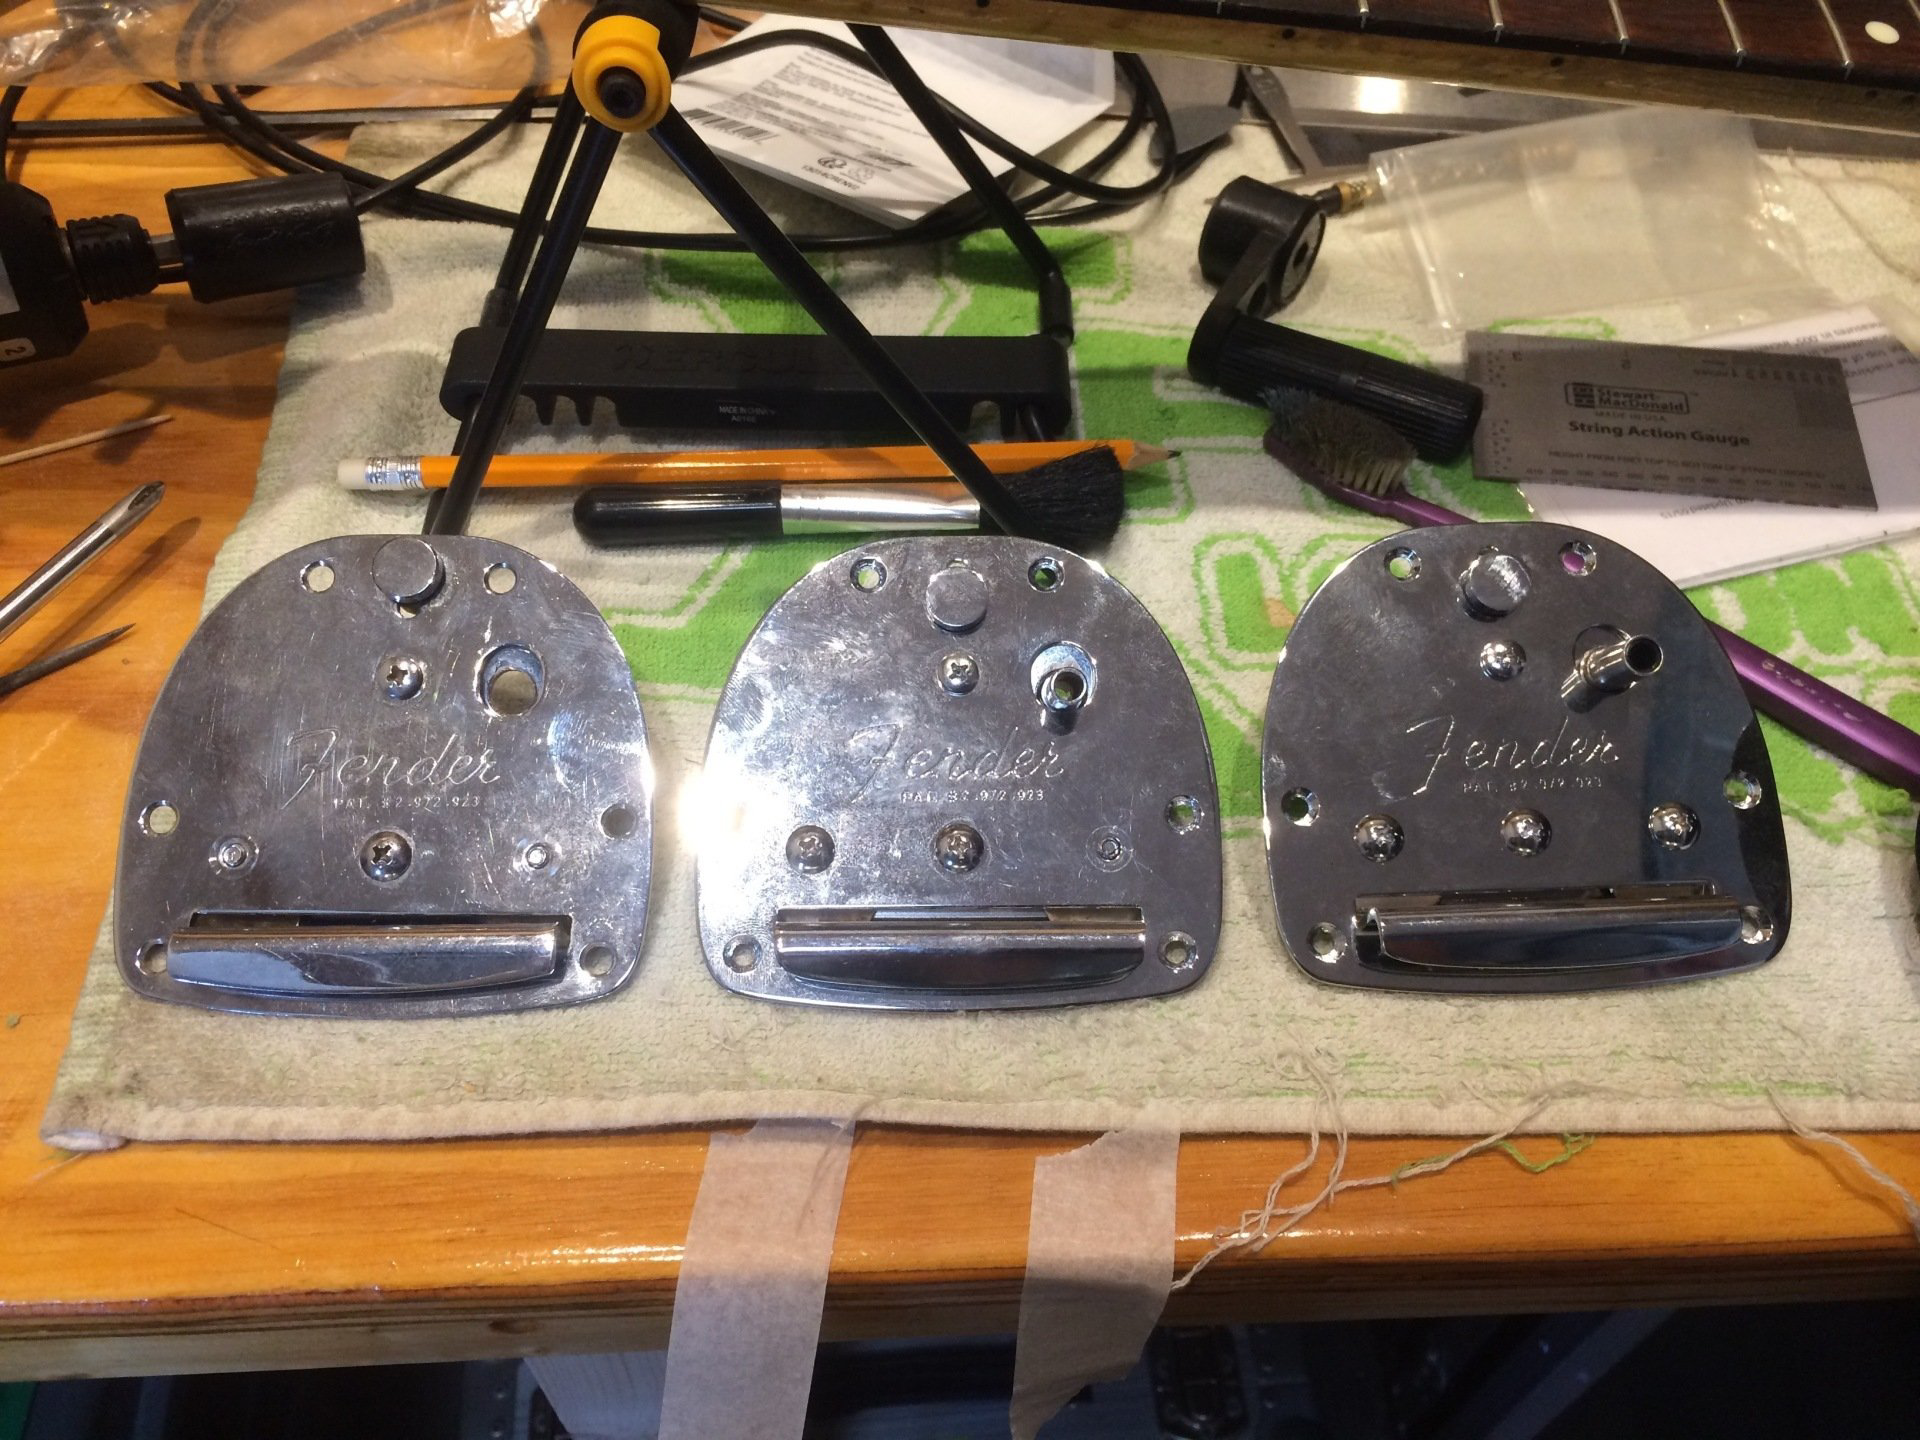
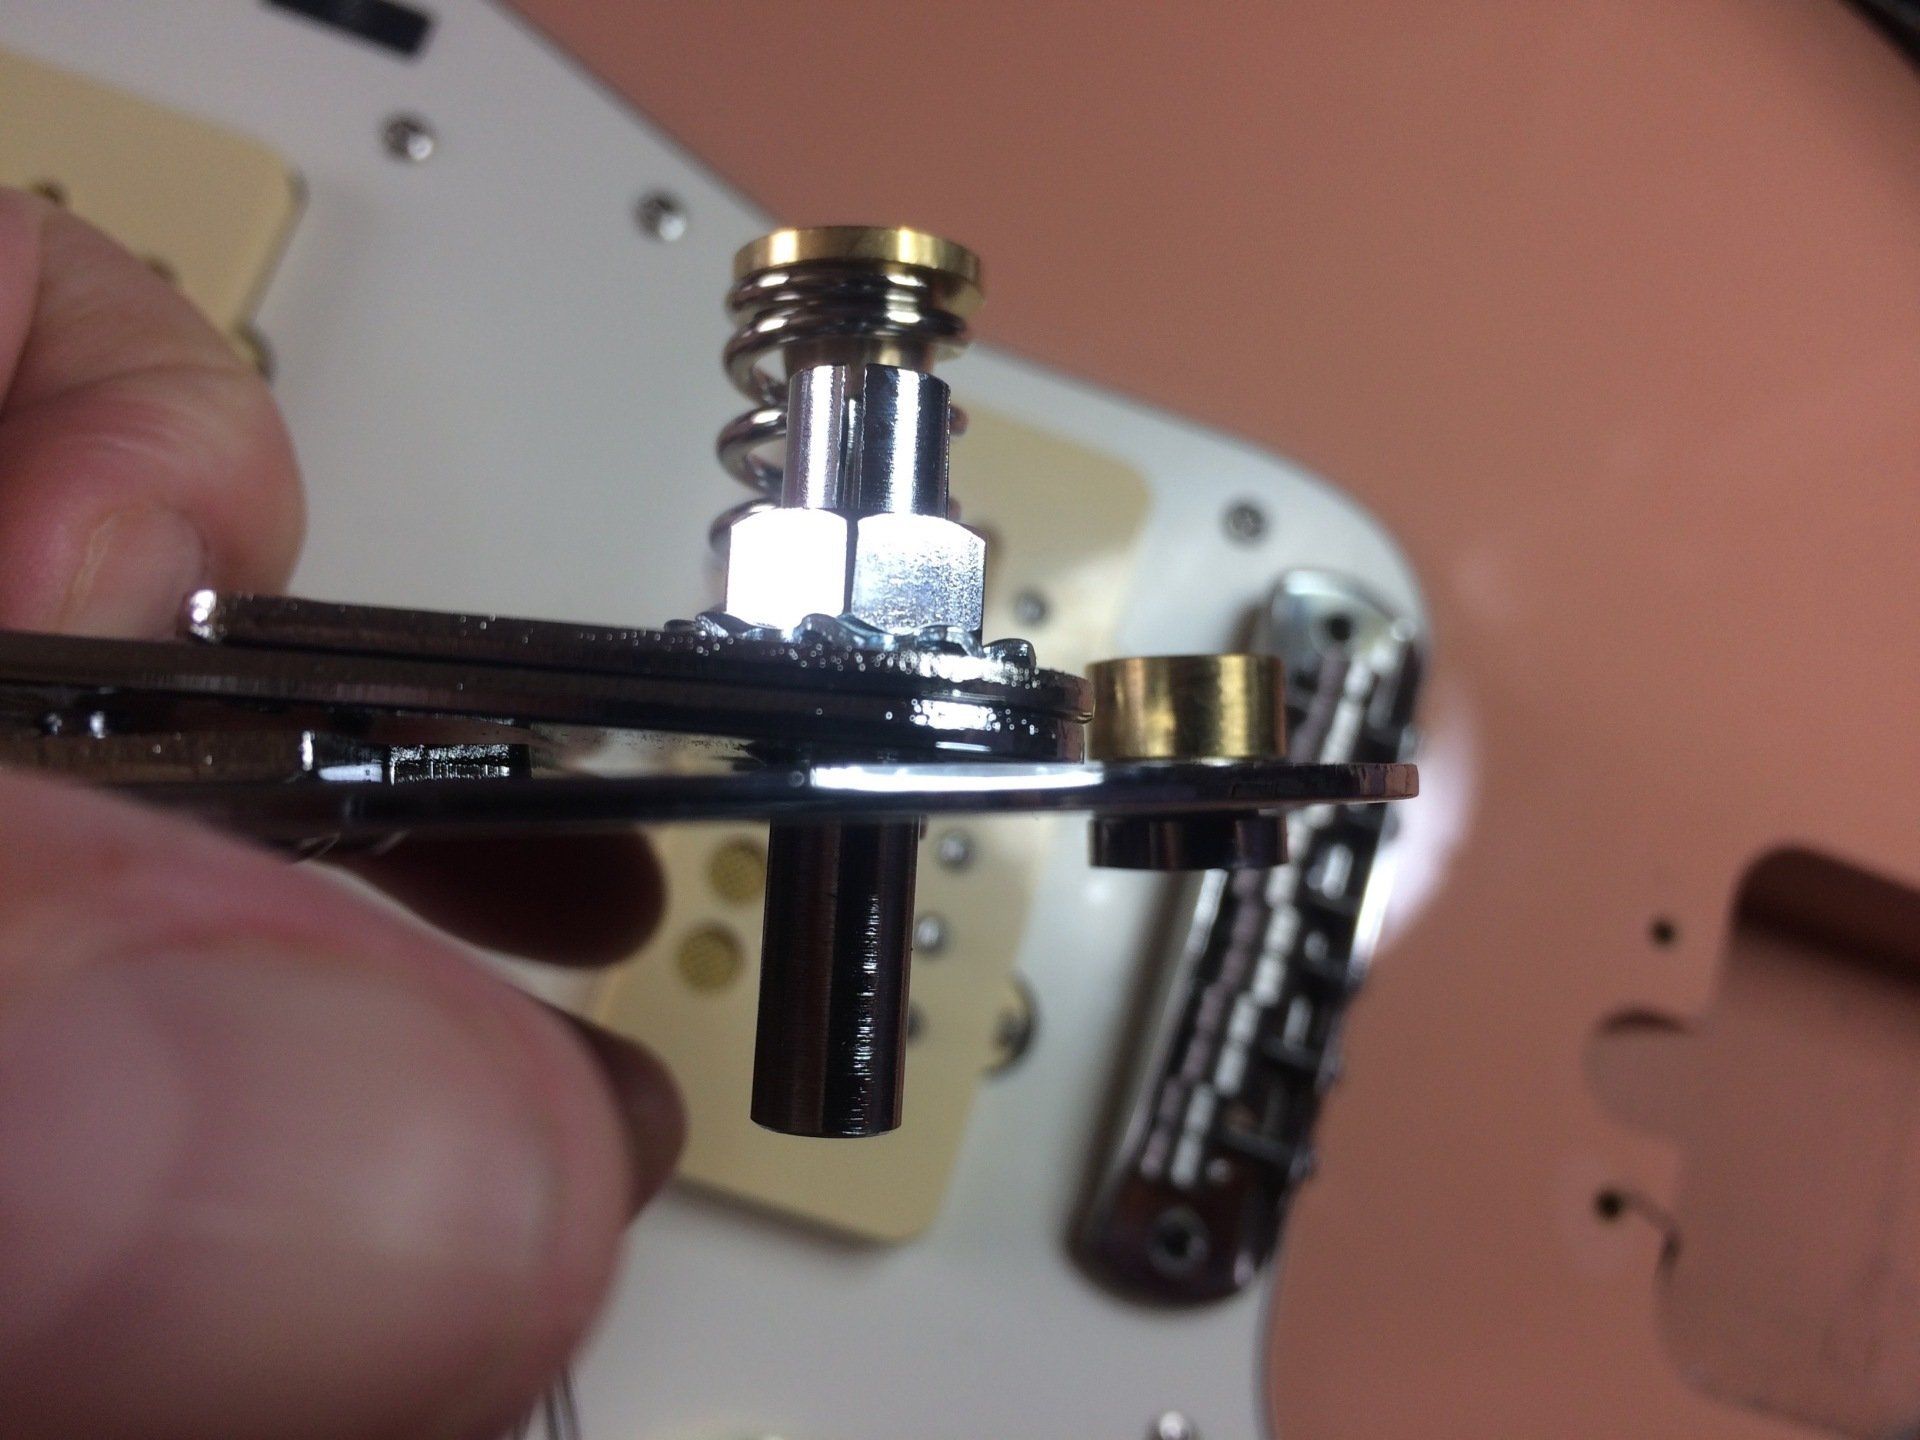
Babsy’s MIJ Jazzmaster is about to have it’s 3rd tremolo block fitted (he treats ‘em pretty rough) and it’s had some mods that really improve playability that I’d like to talk about. The string plates on the first two blocks it had are both bent away from the mounting plate around the arm holes — which puts the threads out of alignment. I’m transferring the original spring (from its first trem) to this third one and also the excellent Staytrem arm and collet. I added an external-toothed lock washer to the collet since he’d found that it often worked loose. Said collet is nicely machined and seems way stronger than the plates it has previously bent! Unlike the thin-sided collet on James Johnston’s CIJ Jag which had split and torn — to the point where it cut his hand and I cut it down. The Staytrem arm fits the collet snugly and stays where it is put, which also means no lost play due to the arm moving before the trem is properly engaged. A loose swinging trem arm (and the rattle which can come with that) is yet another common complaint of Offset players.
Original Offset Fender trem arms (and American Vintage models) do not have this problem. If you push the arm in hard with the heal of your hand you will hear a clunk when it locates properly. It will then rotate freely but stay in position and not swing loose or fall out. Look at the bent end of the arm and you will see the tooling that facilitates this. There is a machined taper at the end of the rod which then steps back to the original diameter at the tip. It requires a stiff pull to remove the arm when fitted properly, you need to get a firm grip at the base and yank hard. Many people have no idea of this feature and do not press home the arm securely. On overseas & late models which do not have this kind of trem arm, the best (and least destructive) way to secure the arm and prevent loose swing is to wrap a little PTFE plumber’s tape around the end. You can also put the locating end in a vice and give it an ever-so-slight bend by tapping it with a hammer. The Mastery Offset tremolo block has a machine screw and nut fitting underneath, on the collet to set and lock the trem arm or adjust how loose it swings.
If you look at picture 4, you'll see Babsy's three consecutive Offset trems. Notice the three machine screws in a line that attach the pivot plate underneath the assembly. On the left-hand unit the outside screws have been removed and replaced from the underside. On the the middle unit only the right-hand screw has been reversed. This has been done because the strings were rubbing against the domed heads of the screws and causing breakages. In the first case both E strings were affected and in the second only the top E. Some people solder the ball end wraps to counter this (a fix that works for a variety of different hardware anchor issues). Reversing these screws is easier in the long term, though it does require the unit to be partially disassembled. This is a problem that rarely occurs on original '50s & '60s guitars as the domed heads of the machine screws they used back then have flattened tops. I've never tried to file the modern screws flat as they look to be chrome plated. Obviously the middle screw falls between the 3rd & 4th strings causing no problems.
Wipeout
I hope I've been able to bring a little love for a range of instruments that were still considered the ugly ducklings of the Fender family when I was young. These guitars were top of the range when they were introduced, but whilst their early appearances were largely in Surf Music they are equally associated with Alt Rock and Indie bands of the '80s & '90s. For most people in the modern era, when they think of Fender Offsets, the players they are most likely to think of are people like J Mascis, Thurston Moore, Johhny Marr, Lee Ranaldo, Kevin Shields and indeed Kurt Cobain, who came up with his own Fender Offset. Although of course Elvis Costello, Tom Verlaine and Robert Smith had already been flying the Offset flag on the New Wave scene. For many guitarists the elaborate controls on the Offset designs were just as baffling as the hardware. Compared to a Telecaster or even a Strat, when the Jazzmaster came along it's switching, and second set of of pots, was confusing. When the Jaguar added a couple more switches it became downright daunting. For many musicians it was easier to turn the rhythm circuit pots all the way down and use the upper horn lever as a kill switch.
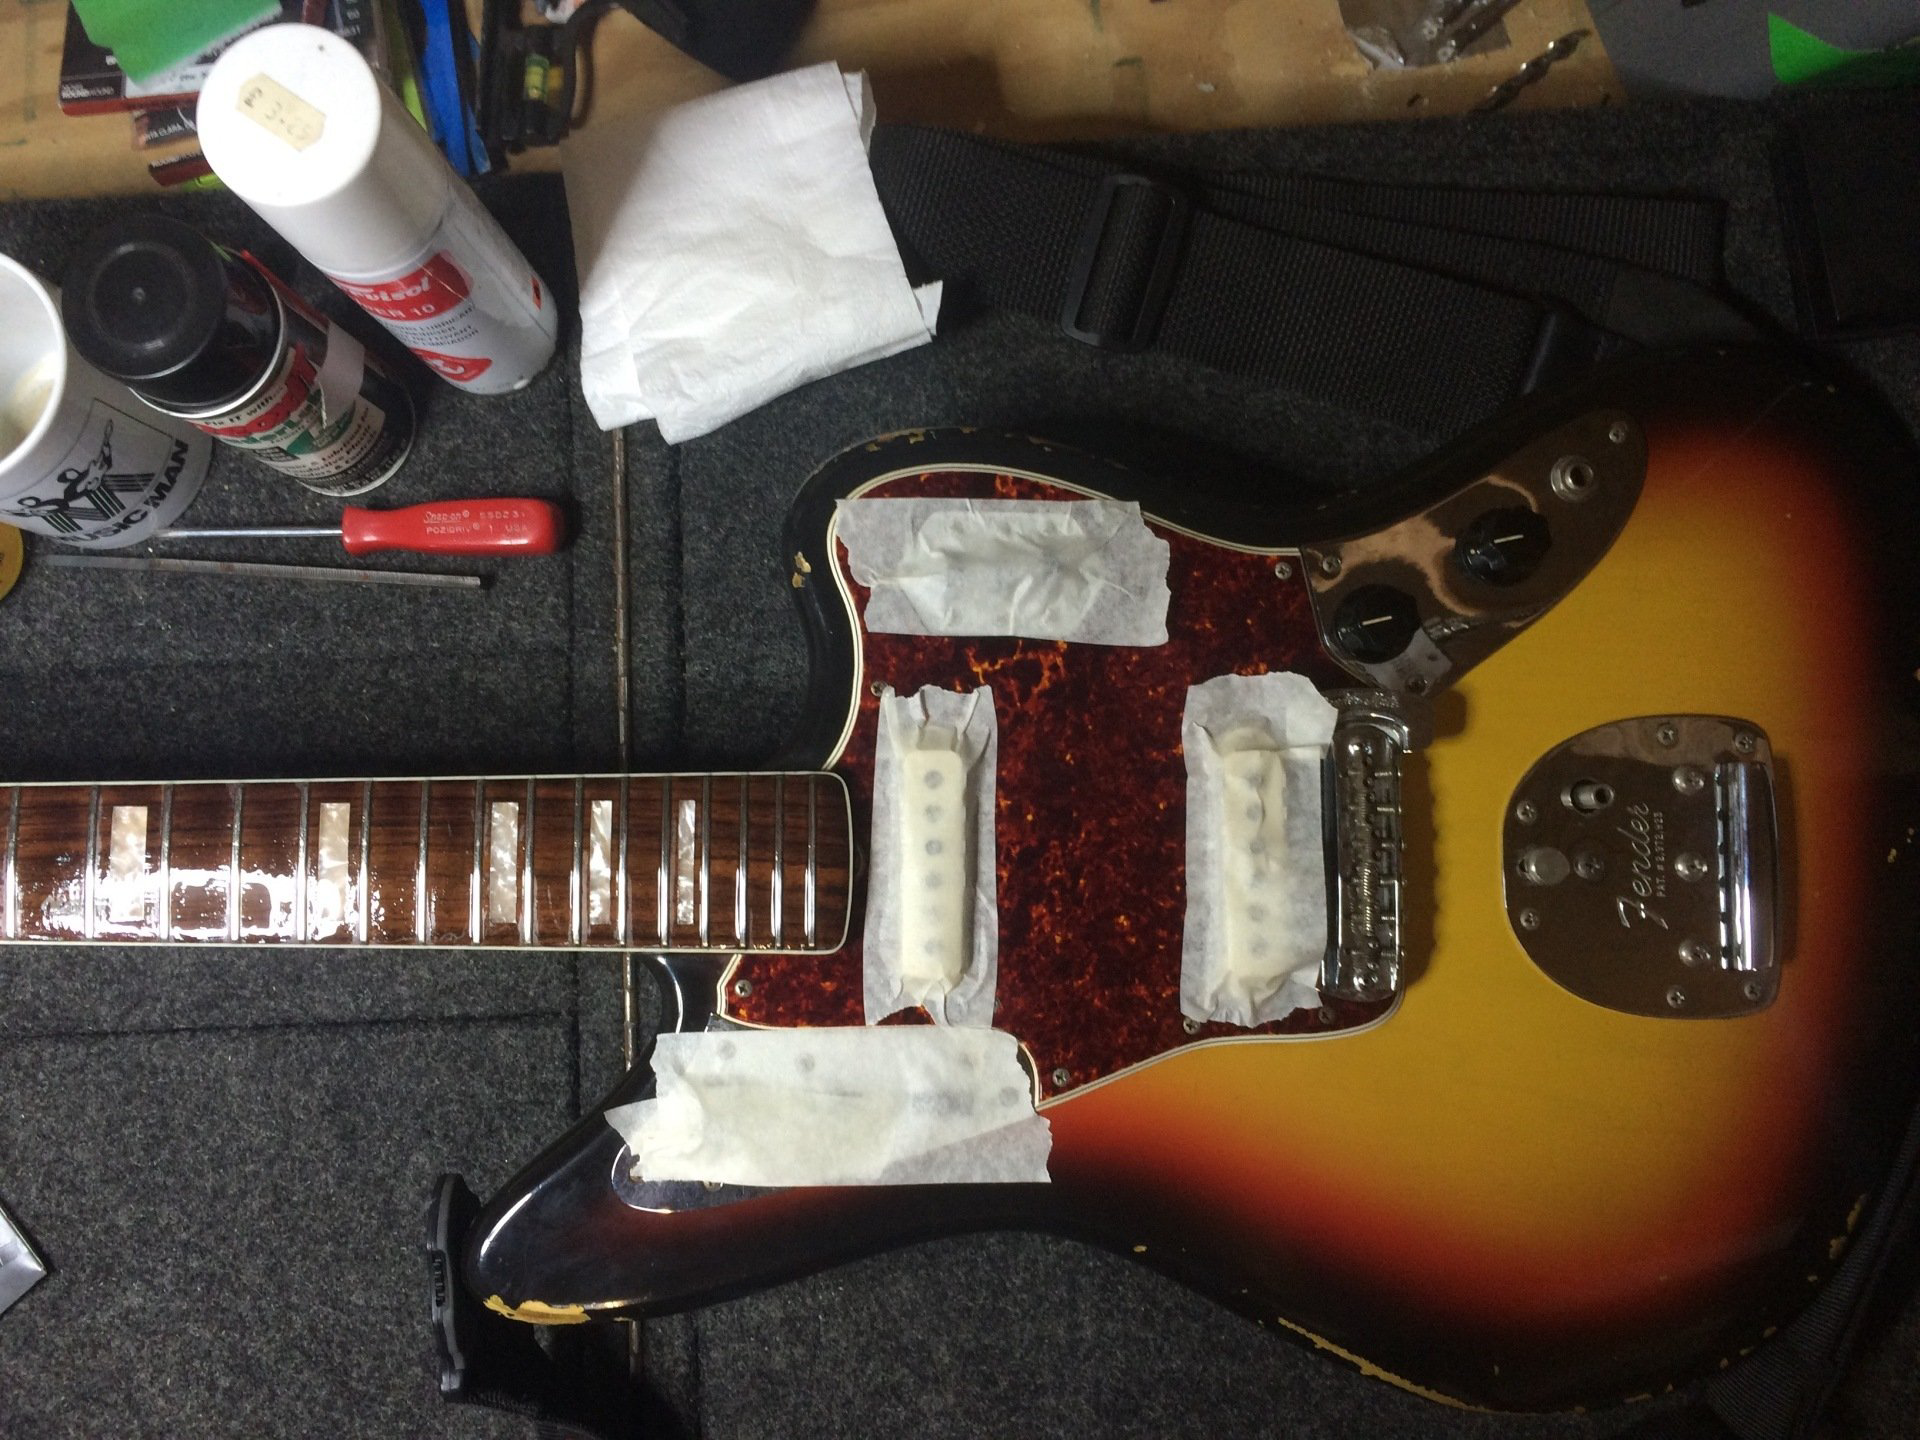
By the 1980s the Fender Offsets were a pretty cheap option if you wanted to play a vintage guitar, and that was largely down to second hand instruments being poorly maintained and sometimes almost unplayable. It's down to players like those mentioned above that the Offset became a desirable instrument again, and thus worthy of a host of improved hardware options. I started out this article with a nod of appreciation to a guita shop and I'm going to end that way as well. If you’re ever in Brisbane, QLD and you’re into surf guitars, or fantastic effects pedals, get yourself down to Tym’s Guitars. He has a great shop, makes lovely Mosrite style guitars (as well as possessing some fine originals), boutique pedals and his own amps. He's something of an expert on Big Muffs and has made limited edition clones of many, including one very unique sounding Big Muff owned by none other than Jazzmaster justice J Mascis. He’s also extremely helpful and friendly.
“Throw out the hardware, let's do it right.”
As promised, here’s a brief rundown of the main hardware options for Fender Offsets and what they do:
Blacktop JM — has what looks like a hybrid of properly grooved Mustang type barrel saddles, but with twin grub screw height adjustment. Height adjustment grub screws are prone to slipping loose. Also, the saddles are actually too wide and it causes the strings to become too close to the sides of the fret board. The strings even 'splay' out from the whammy to the bridge saddles.
Buzz Stop Roller — improves the break angle over the bridge & stops lateral string skating, but significantly reduces the characteristic resonance of the classic Offsets and mars the musician’s ability to play behind the bridge. Attaches (and removes) easily with the front two trem plate screws. Not really necessary on some late models where the trem block has been moved closer to the bridge.
Graphtec Mustang Saddles — which seem to be spaced for MIJ/CIJ bridges. Vintage & AVRI models have wider intonation screw spacing so gaps appear between these saddles.
Mastery Bridge — addresses all of the problems in the original bridge. Rock solid and easy to intonate, with improved sustain as well. They also do a tremolo block and matching string tree.
Mastery Tremolo — entire tremolo block replacement, with engineering upgrades commensurate with it's conception, and maybe even it's price, (now also available in a variety of coloured finishes.)
RSD-J Bridge — only two saddles like a Mastery but with a much more retro style.
Schaller Roller Bridge — a low profile, nicely shaped T-O-M variation. Prone to saddles popping out, but comfortable to play.
Staytrem Bridge for JM/JG — has the same appearance as the original Mustang bridge. Improved and offset intonation screws and bridge height pivot screws that fit the same allen key (provided). Bridge can be supplied with nylon sleeves fitted to the support posts so they are snug in the body thimbles. Available in both 7.25" or 9.5” radii to fit US, Japanese and Squier VM Jaguars, Jazzmasters, Mustangs and any others with a 5/16” or 8mm holes in the thimbles.
Staytrem Tremolo — replacement arm and collet which overcome the problems associated with Offset trem arms (I recommend using a toothed lock washer when installing though.) Stops loose and rattling tremolo arm with hardly any free play. Arm will not swing down when released; rust resistant stainless steel; fits all Jaguars, Jazzmasters, Jaguarillo and Bass VI; external 3/8” & 10mm versions.
Warmoth Modified Mustang Bridge — height screws in the outer four saddles, which presumably allows it to be set to either 7.25” or 9.5” radii.
I'm sure I've missed out some of the after-market parts that are out there, so if there's a replacement part that you're a fan of please get in touch and point me to it. I'd love to know how it works for you and also to what guitar you've fitted it. (Update 2023: I will try and get my hands on a Descendant trem and report on it.) Fender Offsets can be fantastic instruments with distinct and unique characteristics. They can feel and sound amazing, as long as they've been set up properly — so give one a go!

